
The morphs that you can import with DAZ Importer are only half the story. Many morphs also have high-definition (HD) information, which is stored in a dhdm (DAZ High Definition Morph, perhaps) file. The information in a dhdm file is encoded in an undocumented binary format and can not be read by the DAZ Importer. However, Xin has developed an add-on for importing dhdm files, which is colloquially know as Xin's Add-on. This post describes how I use Xin's add-on to generate normal map or displacement map textures, and then assign them to a character.
Installing Xin's Add-on
The source is available in the following repository: https://gitlab.com/x190/daz-hd-morphs . There you can also find compilation details for the .dll under MinGW on windows x64, and documentation.
If you find this addon useful, consider supporting its development and maintenance here: https://xin888.gumroad.com/l/daz_hd_morphs.
The latest version (the main branch) includes documentation in the form of a .pdf in “./blender_addon/documentation/daz_hd_morphs_documentation.pdf”. It includes several step by step examples.
For up-to-date information see further https://bitbucket.org/Diffeomorphic/import_daz/issues/1399/blender-addon-to-generate-rigged-hd-meshes.

Generating Textures
Once the HD morphs add-on has been enabled, a tab called HD Morphs appears. It consists of a number of panels. We must also import the mesh that we want to generate normal or displacement maps for.
- Working directory: All textures will be saved in a subdirectory under this.
- Unit scale: The scale factor connecting the DAZ scale to the Blender scale. Since DAZ uses centimeters internally, the default value 0.01 corresponds to meters.
- Base mesh: A drop-down list where we choose the mesh.


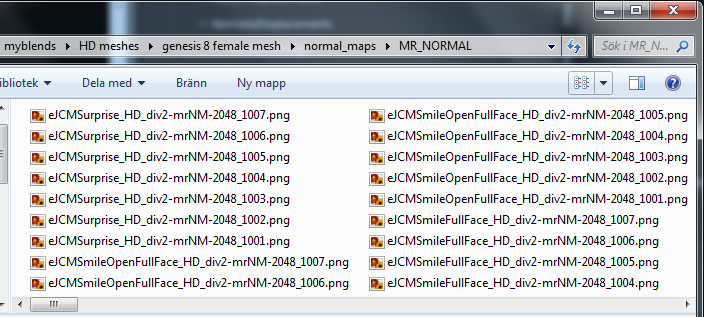
Note that separate normal map textures have been generated for seven tiles, 1001 - 1007. In this case this is unnecessary, since only the first tile, which contains the face, is of interest. We can limit the number of generated files if we enable Select UV tiles and only select those tiles that we are interested in.

Import the textures into Blender
Once all textures have been generated, we want ot import them into the Blender materials. However, first need to we import the morphs at base resolution.


- Use Drivers: Drive the strength of the normal maps with the morph strength.
- Smart Tiles: Only add the textures to materials if other textures have the same tile suffix. E.g., the Torso material typically has other textures ending with "_1002", and therefore only normal maps endin in "_1002" will be added to the Torso material.
- Compact Layout: Close the nodes used to connect the normal map textures, thus making the layout more readable.
- Prune Node Tree: Remove unused nodes once the new textures have been added.
- Add Maps To Materials: The affected materials.


